You may have seen in my previous Playroom inspiration post that I’ve been wanting to update our basement to make it into a play space for Ivy. As of last week, we decided to pull the trigger and start the process by pulling up all the carpet and laying down some laminate hardwood floors. It looks so much better down there but it has thinking of all the other updates I want to make to our house, the basement still included.
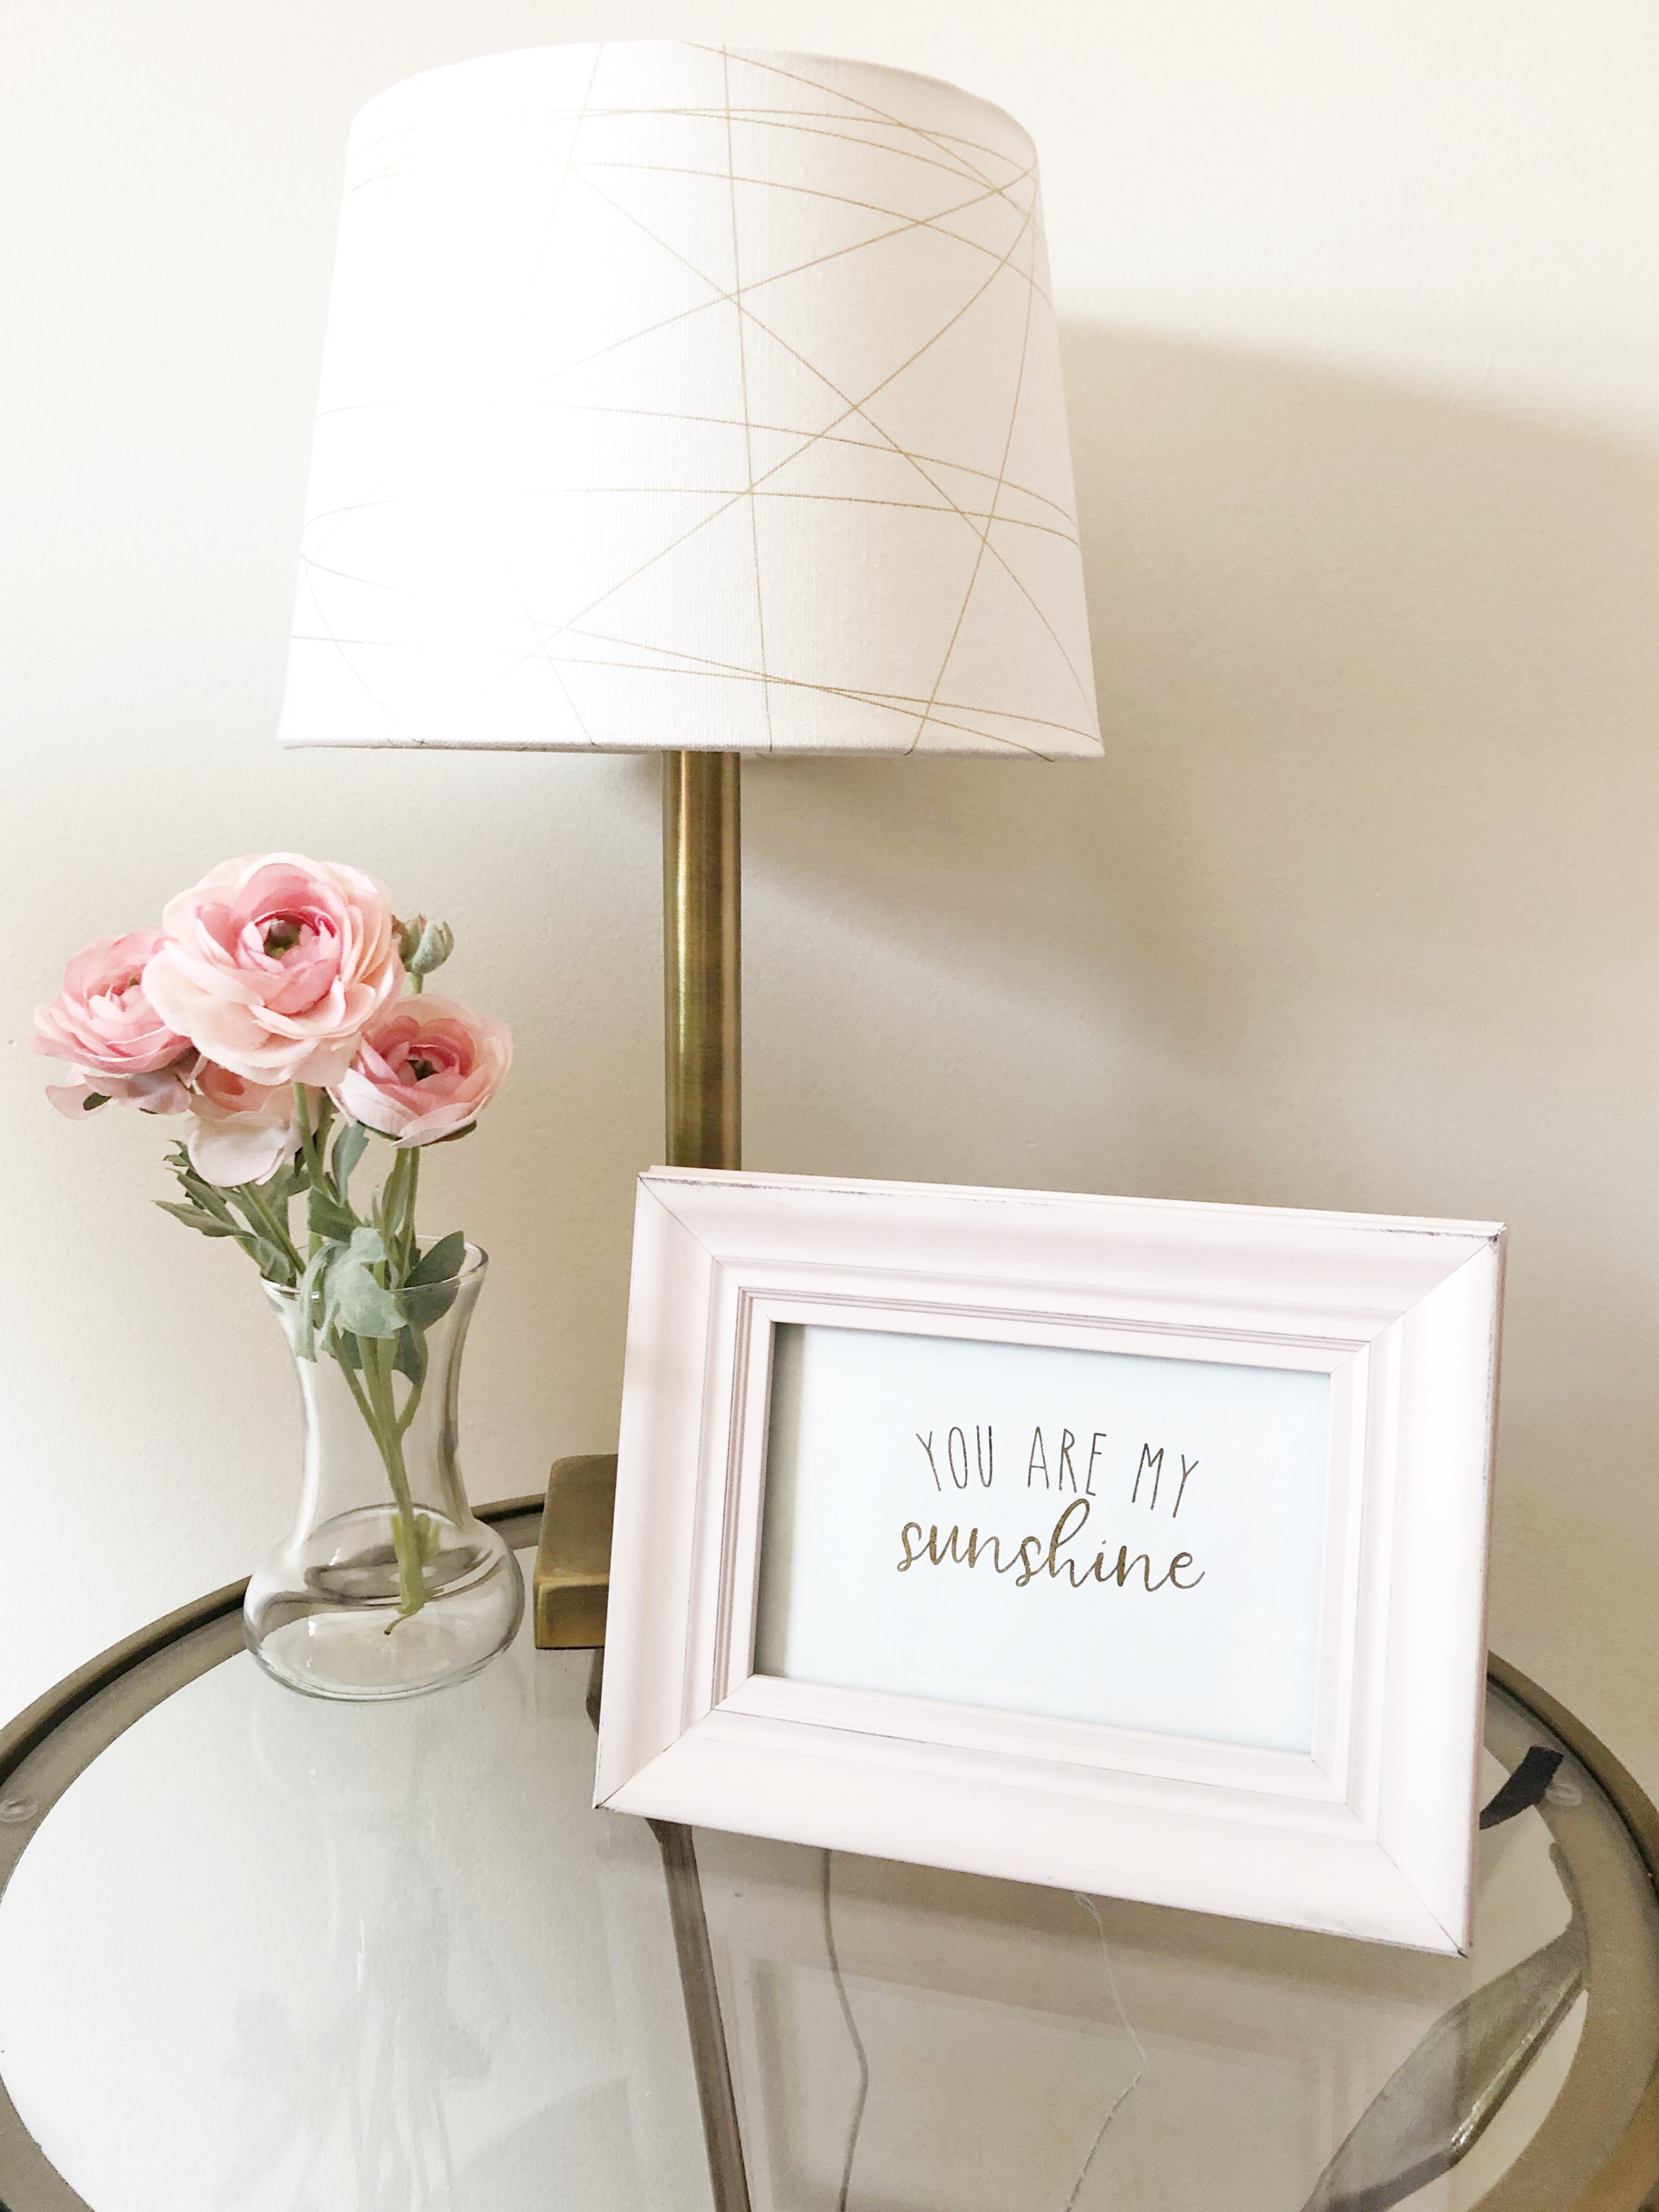
After Christmas I started moving a lot of her toys into the basement in hopes of making it her play space (and to get some of that toy clutter out of our family room). Now that the floors are updated, I want to decorate the space like a playroom (not just throwing all her toys down there and calling it one). I’ve made a few gold prints to put around our house and one I actually made for her nursery that I never ended up hanging (oops!). They’re super easy to make and require minimal supplies so I thought I’d do a quick DIY tutorial.
This post contains affiliate links, which means I may receive a small commission, at no cost to you, if you make a purchase through a link. See my full disclosure here.
Supplies Needed
- Heat Reactive Foil – I use this American Crafts brand. They have a variety of colors on Amazon (and in local craft stores) if you want to do a color other than gold
- Laminator – my husband has one that he keeps at his business so I tend to use that but am strongly considering getting this Amazon one to keep at home. They also have a larger option in case you want to get crazy and make larger prints 🙂
- Note – you do not need the laminating sheets for this project!
- Laser Printer – In order for the gold foil to transfer/adhere to your print it needs to be printed in toner from a laser printer so an inkjet printer can’t be used. Printing in black ink is fine since it’ll be covered by the foil
- If you don’t want to invest in a laser printer you can get your art printed at Office Max/Office Depot, Staples or FedEx/Kinko’s for very cheap
- Cardstock to print your image (it looks better than flimsy copy paper)

Making Your Gold Foil Print
- Print the image you want to gold foil using a laser printer (reminder: it has to be toner and not inkjet ink – this is very important to remember or your foil won’t adhere to inkjet ink)
- Heat up laminator (I use a pretty high heat setting, but not the highest, like an 8 out 10)
- While laminator is heating up, cut out gold foil to cover your entire image
- Lay the foil over your image and place a piece of copy/printer paper over that (this helps hold the gold foil in place as well as make sure it doesn’t get too hot when going through the laminator)
- Once laminator is ready, send through cardstock, gold foil and copy paper through the opening
- Peel off gold foil and admire your new print!

Pretty easy, right? I designed this “You Are My Sunshine” print because it’s one of Ivy’s favorite books and songs right now. We’re/she’s always Alexa to play “sunshine” and she knows the book by heart. It’s one of my favorite things to hear her read it aloud to me.
